Reflective Dog Harness Design: Choosing Materials for Visibility and Durability
Reflective dog harness design is a geometry problem before it is a material problem. Retroreflection depends on angle of approach, material stiffness and where the band sits on a moving body — not on the brightness figure in the specification sheet.
Choosing materials for a reflective dog harness means balancing four variables that pull against each other: reflective efficiency, angular coverage, flexibility at flex zones and durability through washing. Optimising one alone produces a worse product, because the highest-return sheeting is usually the least tolerant of a tight radius. The design work is in the trade, and the trade is decided by where the harness actually bends.
The sections below treat that trade in sequence: why retroreflection is geometry first, the four ways a reflective element degrades, how stiffness should change across the product, the difference between contrast and conspicuity, and the four places a band should never go. It closes with the three tests worth running before a pattern is fixed.
Why Retroreflection Is a Geometry Problem First
Retroreflective material returns incident light toward its source, and return is strongest when the light source and the observer sit close to the same axis. A driver approaching a dog is rarely on that axis, which is why a material with a high peak value can perform poorly in the exact situation it was bought for. Glass-bead constructions return strongly near the axis and fall away at wider angles, while microprismatic constructions hold return further out but are stiffer and less tolerant of tight bends.
Neither is a defect; they answer different geometry questions, which is why angular coverage has to be planned across the product rather than assumed from one band. Multiple bands at different orientations cover more angles than a single wide band on a flat plane, because a curved surface presents different facet angles as the dog moves. That is also why a photograph taken head-on with a flash flatters every design and proves nothing.
Four Degradation Paths and the Design Response
Reflective elements fail in predictable ways, and naming the failure is the first step to designing around it. Delamination comes from adhesive failing under shear and heat, which is a material-system choice rather than a design error. Cracking comes from stiff sheeting bent on a tight radius, and abrasion dulling comes from surface contact, both of which are pattern decisions.
| Failure | Mechanism | Design response |
|---|---|---|
| Delamination | Adhesive fails under shear and heat | Stitched border or woven-in yarn |
| Cracking | Stiff sheeting bent on a tight radius | Keep rigid trim off the flex line |
| Abrasion dulling | Surface scuffed by contact and rubbing | Move out of contact zones, specify abrasion data |
| Contamination | Mud and detergent film scatter light | Smooth surface, realistic care instructions |
Cracking and abrasion cost nothing to avoid at the pattern stage and cannot be corrected later, which is why they belong in the design review rather than the complaint log. Contamination is partly design and partly a care-label problem, and the label is the cheapest of the four to fix.
Matching Material Stiffness to Harness Geometry
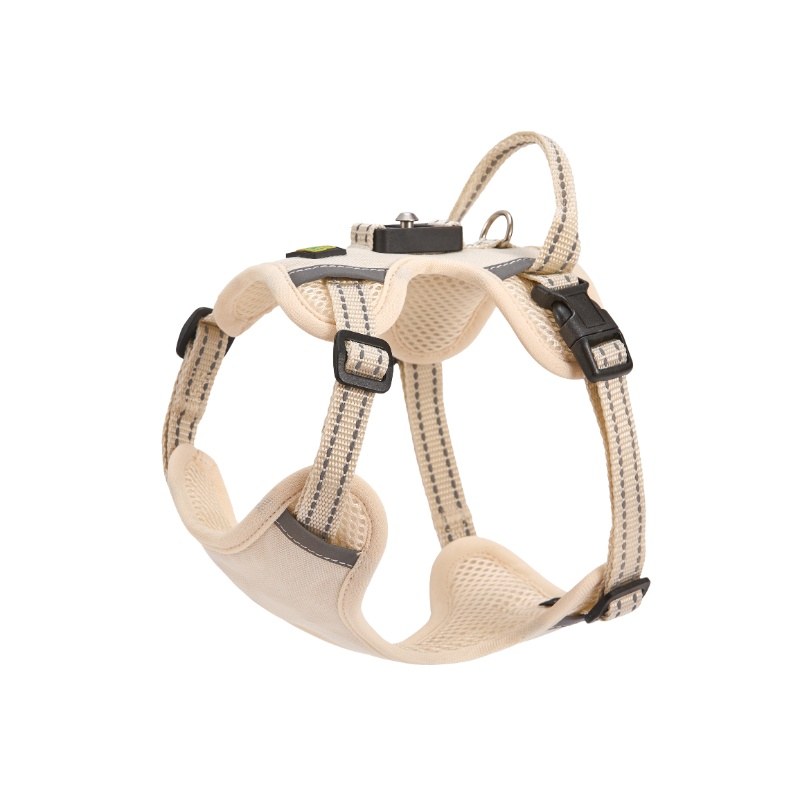
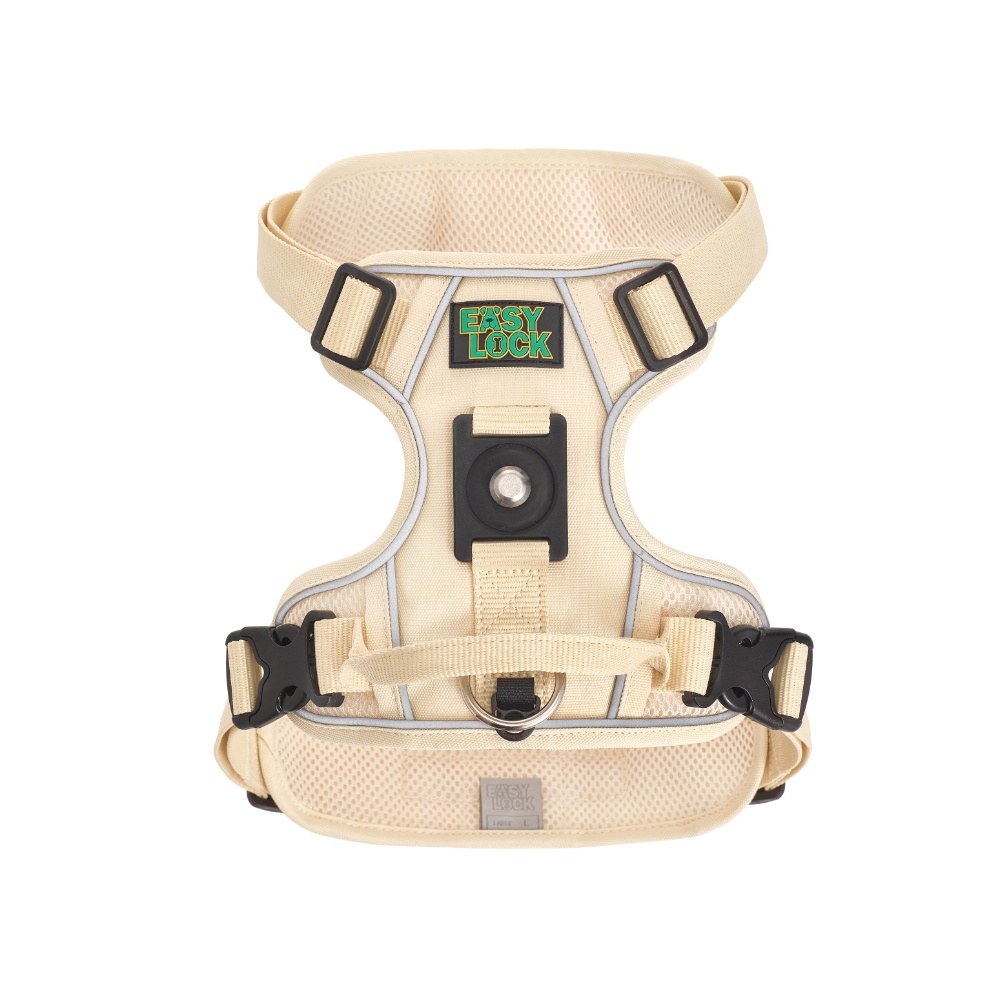
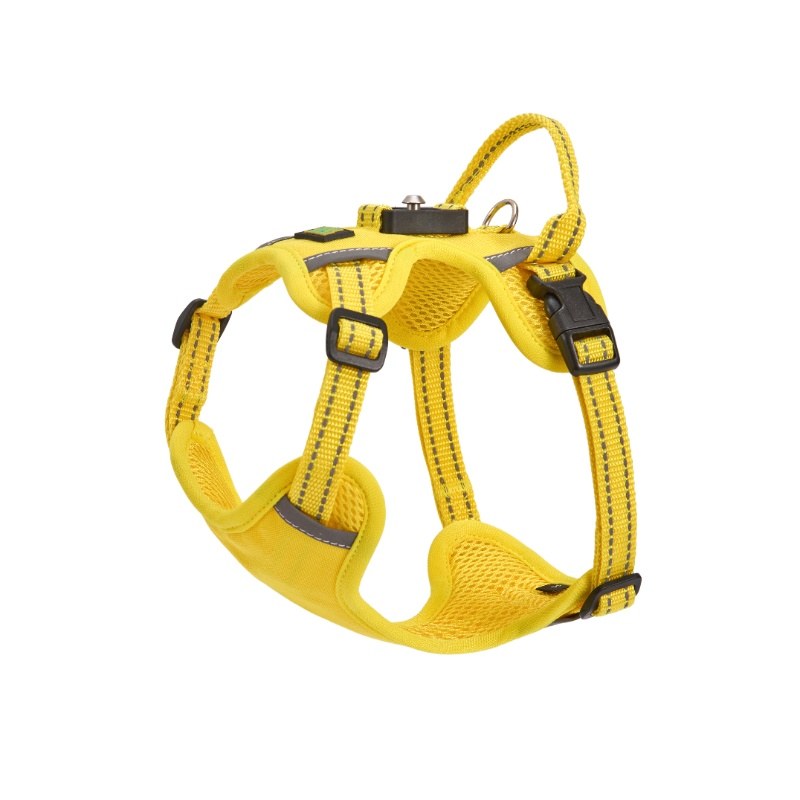
Every harness has three zones with different stiffness requirements, and applying one material across all three produces a predictable failure pattern. The chest panel is relatively flat and tolerates rigid trim, the shoulder turn is a tight radius under repeated flex and needs the most compliant material, and the girth band curves around the body in a high-contact area that needs compliance plus abrasion resistance.
The standard shortcut of one reflective material everywhere ends with cracked trim at the shoulder, dulled trim at the girth and perfectly intact trim on the chest panel that nobody notices. A better design uses different constructions per zone: flexible tape or yarn at the shoulder, a more durable surface at the girth, higher efficiency where the panel presents a flat face to oncoming light. This is far easier when reflection is woven in rather than applied, because weaving allows reflective yarn in specific bands within the same strap and removes the trim-to-base interface entirely; our approach is described on the harness fabric page.
Contrast and Conspicuity Are Not the Same Thing
Conspicuity comes from contrast against the background, movement and visible signal size, and reflective trim is only one input among several. A dark base with narrow silver trim produces a high-contrast pattern in daylight and a crisp return at night, while a light base with the same trim produces lower contrast and a return that competes with ambient scatter. Neither choice is wrong, but it should be deliberate rather than inherited from a seasonal palette.
Width matters less than assumed. A 10 mm band at the correct height outperforms a 25 mm band laid across a flex zone, because the wide band cracks and the narrow one does not. Buyers who specify width as a proxy for visibility are usually specifying the wrong variable.
Where Reflective Bands Should Not Go on a Reflective Dog Harness
Reflective bands should stay out of four locations on a reflective dog harness: the shoulder flex line, the girth contact patch, the area under the D-ring, and any seam that carries load. The shoulder flex line is the most damaging of the four, because trim bonded or stitched across a tight radius accumulates flex cycles faster than anywhere else and cracks first. The girth contact patch abrades against the body and the ground, and reflective material there dulls quickly in a way that is invisible until the product is used at night.
Under the D-ring, the leash clip contacts the surface repeatedly, and metal on reflective film scratches across the whole band rather than only at the contact point. Load-bearing seams are the fourth: stitch holes from trim application concentrate stress beside a seam that is already working, which is how a cosmetic feature becomes a structural weak point. The practical rule is to place bands between these four zones rather than across them, even when that means a shorter reflective run and a less graphic look.
Cleaning method affects reflective life as much as washing frequency does. Detergent residue left to dry on the surface scatters light before it can return, and the effect builds over repeated cycles, so a rinse step and air drying preserve return better than a hot tumble. Colourfastness testing to AATCC 61 or ISO 105 matters here for a second reason: dye migrating from the base fabric onto the trim during washing dulls it permanently, and the combination has to be tested rather than the components.
Testing Materials Before the Pattern Is Fixed
Material selection should be validated before tooling, because changing material afterwards is expensive. Three tests cover most of the risk. Abrasion testing to ASTM D4966 using the Martindale method ranks candidates by surface durability, and although it does not measure retroreflection directly, the correlation is strong enough for selection. Wash testing to AATCC 61 or ISO 105 covers colourfastness and physical survival, and the assembled product should go into the drum rather than a loose swatch, because seams and hardware change behaviour.
Flex testing at the actual radius is the test most suppliers skip and the one that predicts shoulder-turn failure. Bend the candidate around a mandrel matching the tightest radius on the pattern, cycle it, then inspect the edge for cracking, because cracks start at the edge and remain invisible until the band is flexed by hand. Validate the layout on at least two body types as well, since a deep-chested dog presents the chest panel at a different angle from a barrel-chested one.
The EASY LOCK Position
EASY LOCK was founded in 2018 on more than 15 years of webbing manufacturing experience, which allows reflective design to be handled as a weaving decision rather than an application step. Reflective yarn can be placed in specific bands, resolving the stiffness conflict at the shoulder turn without adding an interface. Our harness platform comes from a three-year development cycle with more than 100 rounds of material testing and is protected by national patents including the Mag-Clip single-touch release, with sizes running XS to XL on consistent hardware.
Where weight and structure have to be reduced for warmer markets, the lightweight harness construction is the usual starting point. It keeps the reflective layout intact while removing structure that only earns its place in cold weather.
Frequently Asked Questions
Q1: Should the reflective band be wider for larger dogs?
Not necessarily. A larger silhouette already improves conspicuity. What changes with size is strap load and shoulder radius, so material and placement matter more than width.
Q2: Can reflective and standard versions share a pattern?
They can share geometry but not the bill of materials. Added trim thickness changes slider behaviour and added stitching changes the load path.
Q3: How can two reflective materials be compared without a lab?
A dark room, a torch at eye height and a slow walk around the sample will rank angular coverage. Wash both samples five times and repeat, because the ranking often changes.
Q4: Does reflective trim interfere with branding?
It can. Print over a reflective surface reduces performance and wears unevenly. Keep branding on adjacent non-reflective areas or use a woven label at a seam.
Final Thoughts
Reflective dog harness design is a materials-and-geometry exercise with a fixed sequence: map the flex zones, choose materials per zone, lay out bands for angular coverage, then validate after washing. Skipping any step moves the cost into returns, where it is harder to trace. More on material selection is in our industry articles, and the sequence above is what separates a reflective dog harness that still works in season two from one that merely shipped bright.
Start With the Flex Map
Send us your harness geometry. We will map the flex zones, propose a material per zone and lay out bands that survive the shoulder turn.
Get a Zone-by-Zone Material Plan